Monday, December 31, 2012

LAST PROJECT BEFORE THE NEW YEAR!


  My buddy Camp came to the shop on Saturday with an idea for a fire pit for his new house. He wanted it to be different then anything that you could just go and buy at your local Home Depot. I told him "Camp you came to the right place." We spent some time coming up with ideas and this is what he decided on. A combination of wood and metal. We will get to see how well it performs tonight at the party.This was a good last project for the year to end on. Thanks for the Support Camp!

Fabricate Or Die!
For All Your Fabrication Needs:
Brock Dunlop
brock@dunlopcustoms.com
602-515-2285

Thursday, December 27, 2012

HARLEY BRAKE LEVER


   So Kevin stopped by the shop the other day to see if I could help him with a project he has been working on for his EVO Sportster. He converted his evo sporty to a kick start setup from Led Sled, but the bad thing is that Led Sled didn't make this kit to run mid controls, belt drive or even hold the rear master cylinder. So we came together and this was our solution using a crotch rocket master cylinder and modifying the old aluminum brake lever. It works really well and gives him the stance and look he was after.


Fabricate Or Die
For All Your Fabrication Needs:
Brock Dunlop
brock@dunlopcustoms.com
602-515-2285

Tuesday, December 25, 2012

Monday, December 24, 2012

JEEP CJ-7 FENDER REBUILD


  This was a fender rebuild for a CJ-7 Jeep. This customer wanted to make more room in the back for kids, gear, and give it a new look. So I started by cutting out the original fender which stuck out about 4"  more at the top. I wanted to make sure that I didn't cut out to much so a little at a time was the key. After cutting out the fenders (no return) I made some cardboard templates to go off of for when I start to shape the new fneders. I have found that cardboard is the easiest and cheapest old fashioned way of making templates. Once the template was finished it was time to cut them out of some 16 ga cold rolled steel with an air shear. I feel like Jesse James every time I use the air sheers. He always used them in the TV show "church of choppers." Now that the new fender was sheared out of the steel it was time to measure and make all the marks for where the break bends will be. The bends actually give the fender some strength. After fitting, smacking, and doing some last minute fine tuning the fenders are tact into place to make sure everything is in the right area before welding them in solid. Since this Jeep is going to be off road those fenders had to be fully welded into place to make sure that there will be no leaks while traveling along the GREAT OUTDOORS! The fenders where welded and sanded down to give the customer a custom new look. The Jeep is ready for paint or bed liner coating.

Fabricat Or Die!
For All Your Fabrication Needs:
Brock Dunlop
brock@dunlopcustoms.com
602-515-2285

Wednesday, December 19, 2012

1985 TOYOTA 4RUNNER REAR AXLE UPGRADE


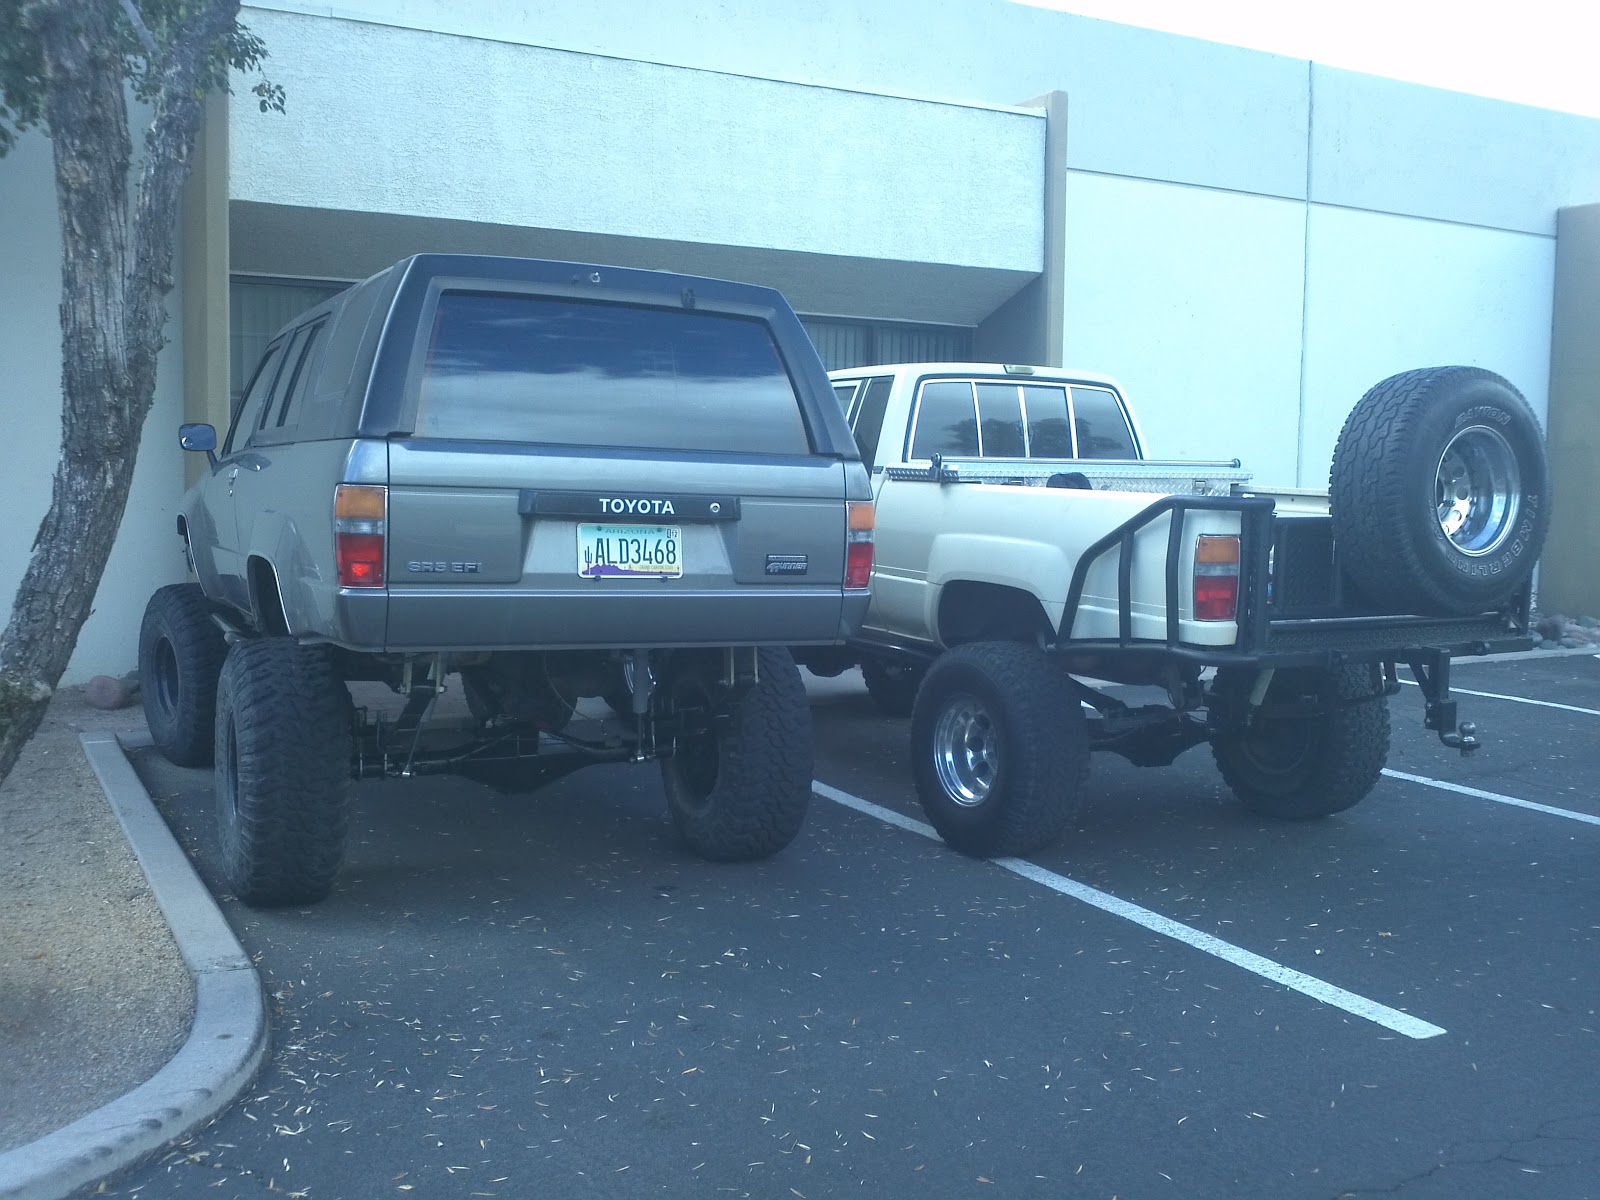
  Project axle upgrade. The rear axle on this 1985 Toyota 4runner is off a newer V6 model which is 3" wider and thicker then the stock 85 axle that was under there before. This axle housing in the picture has been heavily modified to accommodate the style of off roading that this truck was meant for (ROCK CRAWLING). The housing had to be prepped to fit the Toyota TRD e-locker setup. To do this we needed a fancy jig that we built (for the new stud holes for the e- locker) , a torch, welder, grinder, air hammer and some brain power. Then after all that was said and done it was time to build that housing to take on the rocks. Armor from Blue Torch Fab was welded into place in order to protect that differential from the trail abuse.  A fancy, but functional Ballistics Fab filler/inspection cap was installed for the ease of inspecting the gears and filling differential with gear oil. 
    Once the axle housing was all welded, painted and new seals where installed it was time to drop in the new Nitro 5:29 gears that just came back from Bobby Longs. The gears where at Bobby Longs getting CRYO* treated (BEEFY/STRONG). After the axle was done and ready we started the suspension calibration. This is the fun part because there is math incorporated in order to get the correct measurements of the full droop and the full up travel of the leafs. The leaf springs where disassembled so that there was very little resistance in order to allow for the trial of our calculations. This is very important because if you don't get it right the 35"- 37" tires that will be mounted will end up crushing the fender wells during the up travel of the suspension. NOT GOOD FOR THE BODY! Once we figured out the exact location of the axle and springs it was time to fab up our new leaf spring hangers. These are supper beefy and keep the springs safe from any rock bashing that may happen out on the trail. Up next is the front axle!! Stay tuned for more awesomeness!

Thanks For The Support Nick!

For All Your Fabrication Needs:
Brock Dunlop
brock@dunlopcustoms.com
602-515-2285


*A cryogenic treatment is the process of treating workpieces to cryogenic temperatures (i.e. below −190 °C (−310 °F)) to remove residual stresses and improve wear resistance on steels.
The process has a wide range of applications from industrial tooling to improvement of musical signal transmission. Some of the benefits of cryogenic treatment include longer part life, less failure due to cracking, improved thermal properties, better electrical properties including less electrical resistance, reduced coefficient of friction, less creep and walk, improved flatness, and easier machining.